How to Add Burned-In Captions in Hindi and Other Indian Languages
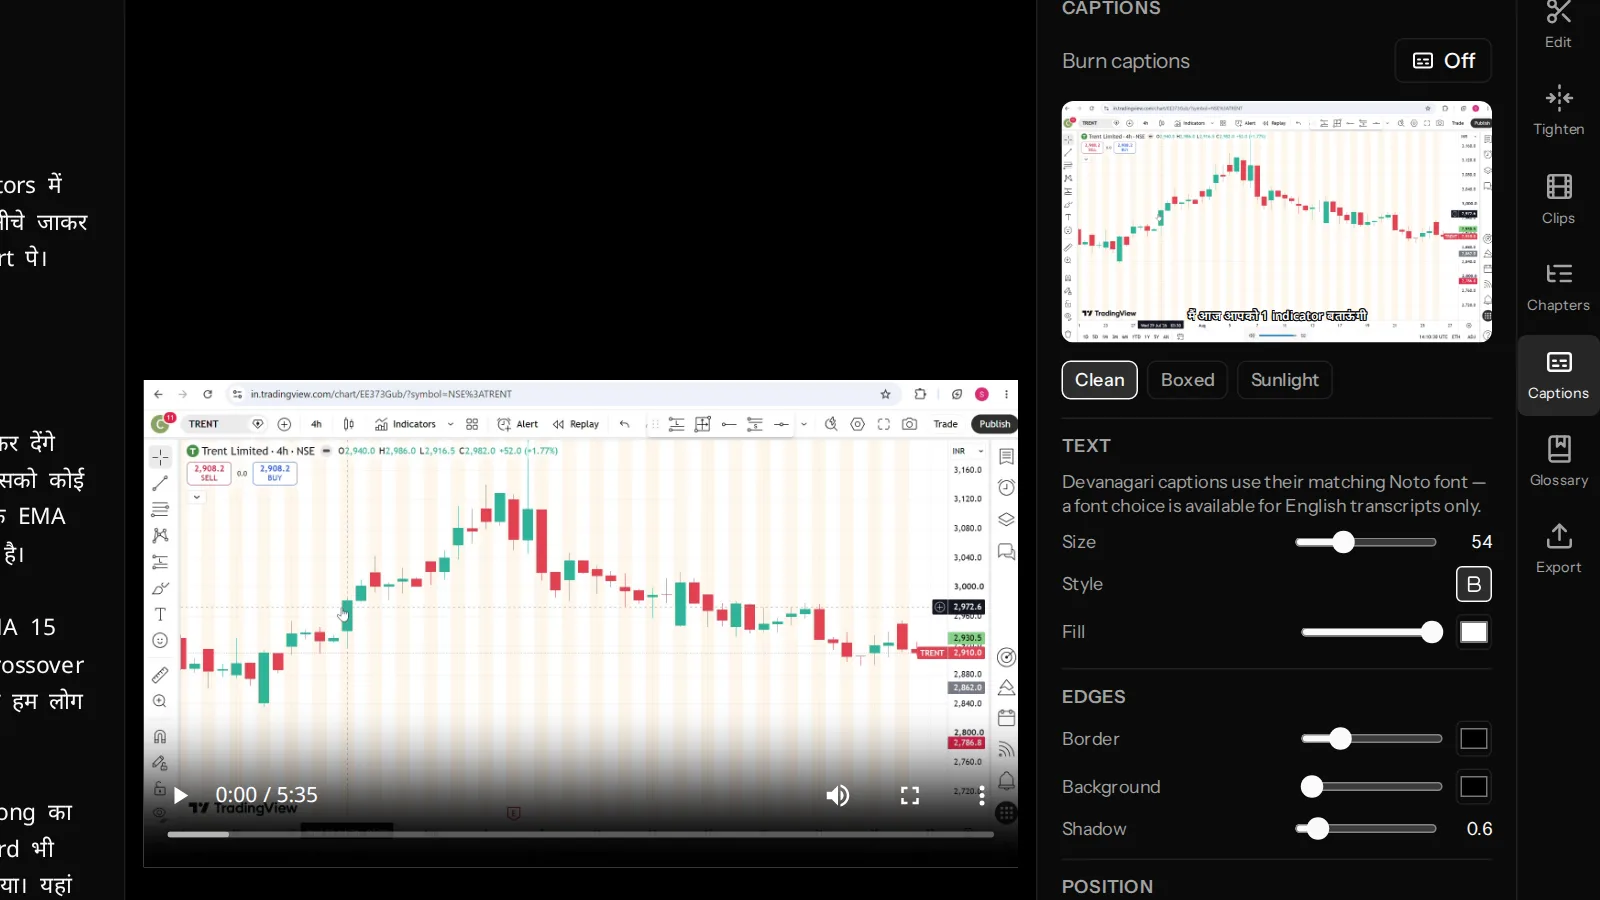
VidCarve burns captions directly into the exported video, timed from the transcript you edited. Turn them on in the Captions tab, pick a preset, adjust size and position, and export. Because the captions come from your edited transcript, your cuts carry through automatically — there is no second file to re-sync.
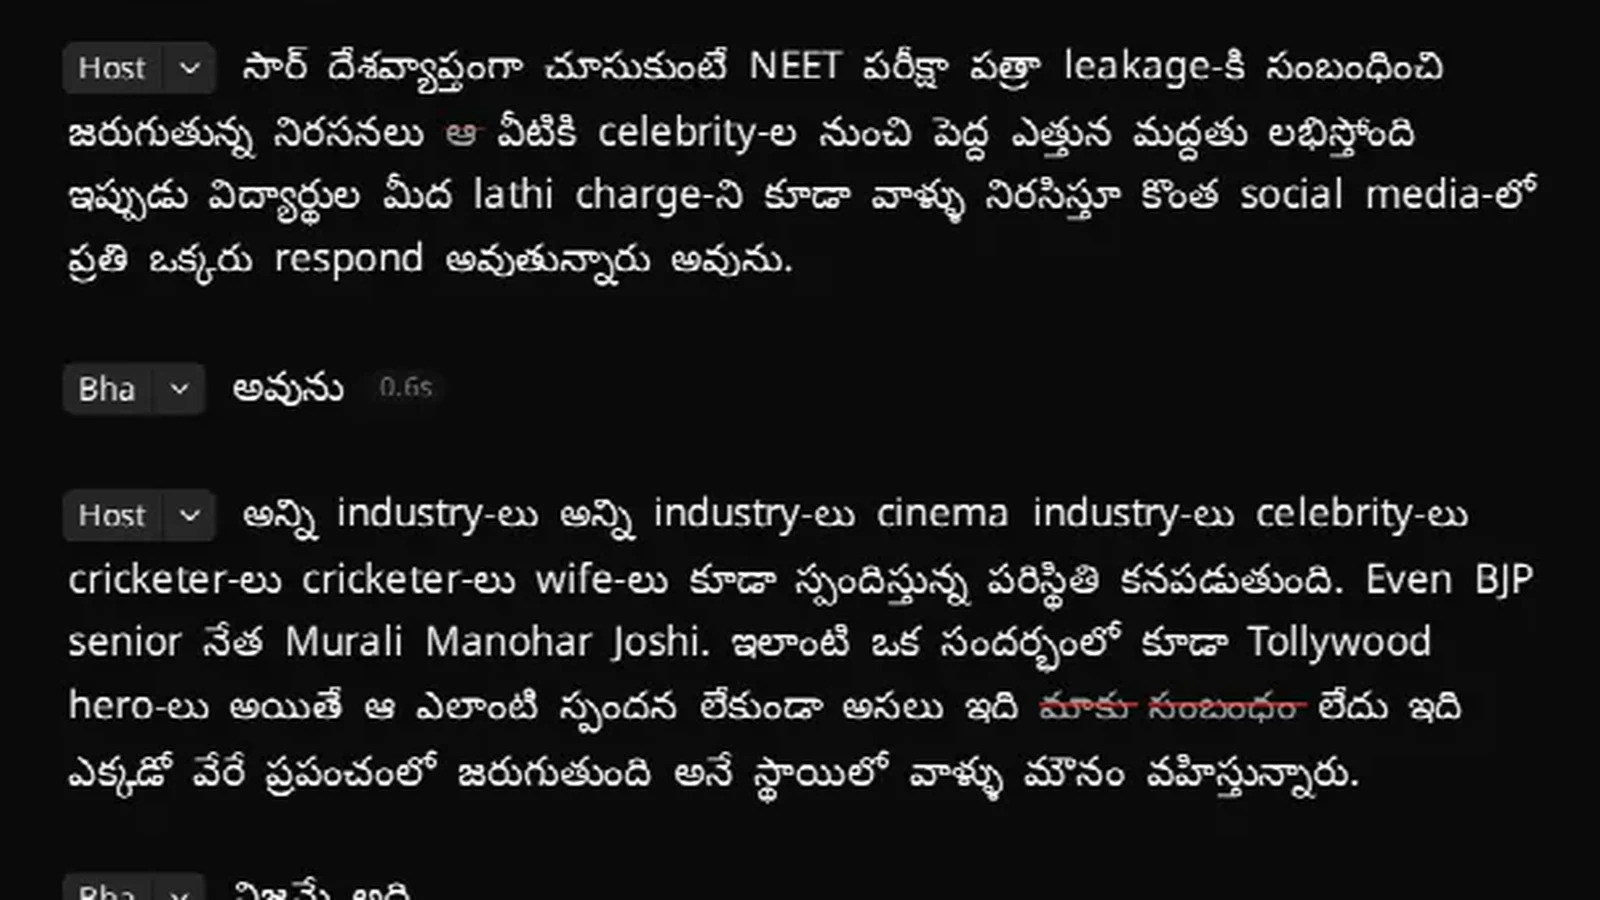
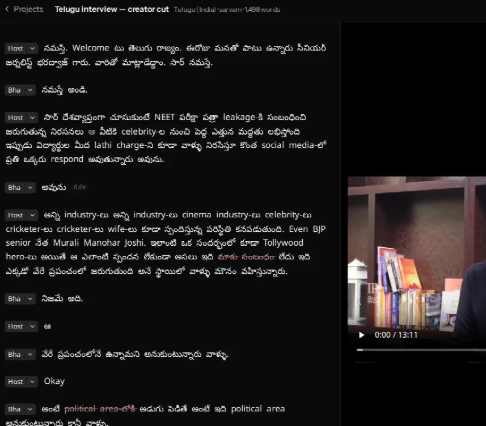
This matters most for Indian-language video. Devanagari, Telugu, Tamil, Bengali and Gurmukhi are not simply "text in a different alphabet": their conjuncts and vowel marks need proper shaping, and a caption tool that treats them as Latin produces text that is subtly, visibly wrong.
The short version
- Open the Captions tab in the editor's right-hand rail.
- Switch Burn captions on.
- Pick a preset — Clean, Boxed or Sunlight.
- Adjust size, fill, edges and position; watch the preview on your own frame.
- Export. Captions are rendered into the video.
Why burned-in captions instead of a subtitle file?
Burned-in captions (sometimes called open captions) are part of the picture. They cannot be switched off, and they cannot fail to load.
That is the right default for social video. Instagram, YouTube Shorts and most feeds autoplay muted, and a viewer decides whether to stay in the first second or two — long before they would go looking for a caption button. A burned-in caption is also immune to the platform re-encoding your upload and dropping the subtitle track.
The trade-off is real and worth stating: burned-in captions cannot be translated, turned off, or read by a screen reader. VidCarve currently exports burned-in captions only — there is no .srt sidecar file yet. If you need a switchable subtitle track for a long-form YouTube upload, that is a genuine gap today.
Step 1: Turn captions on
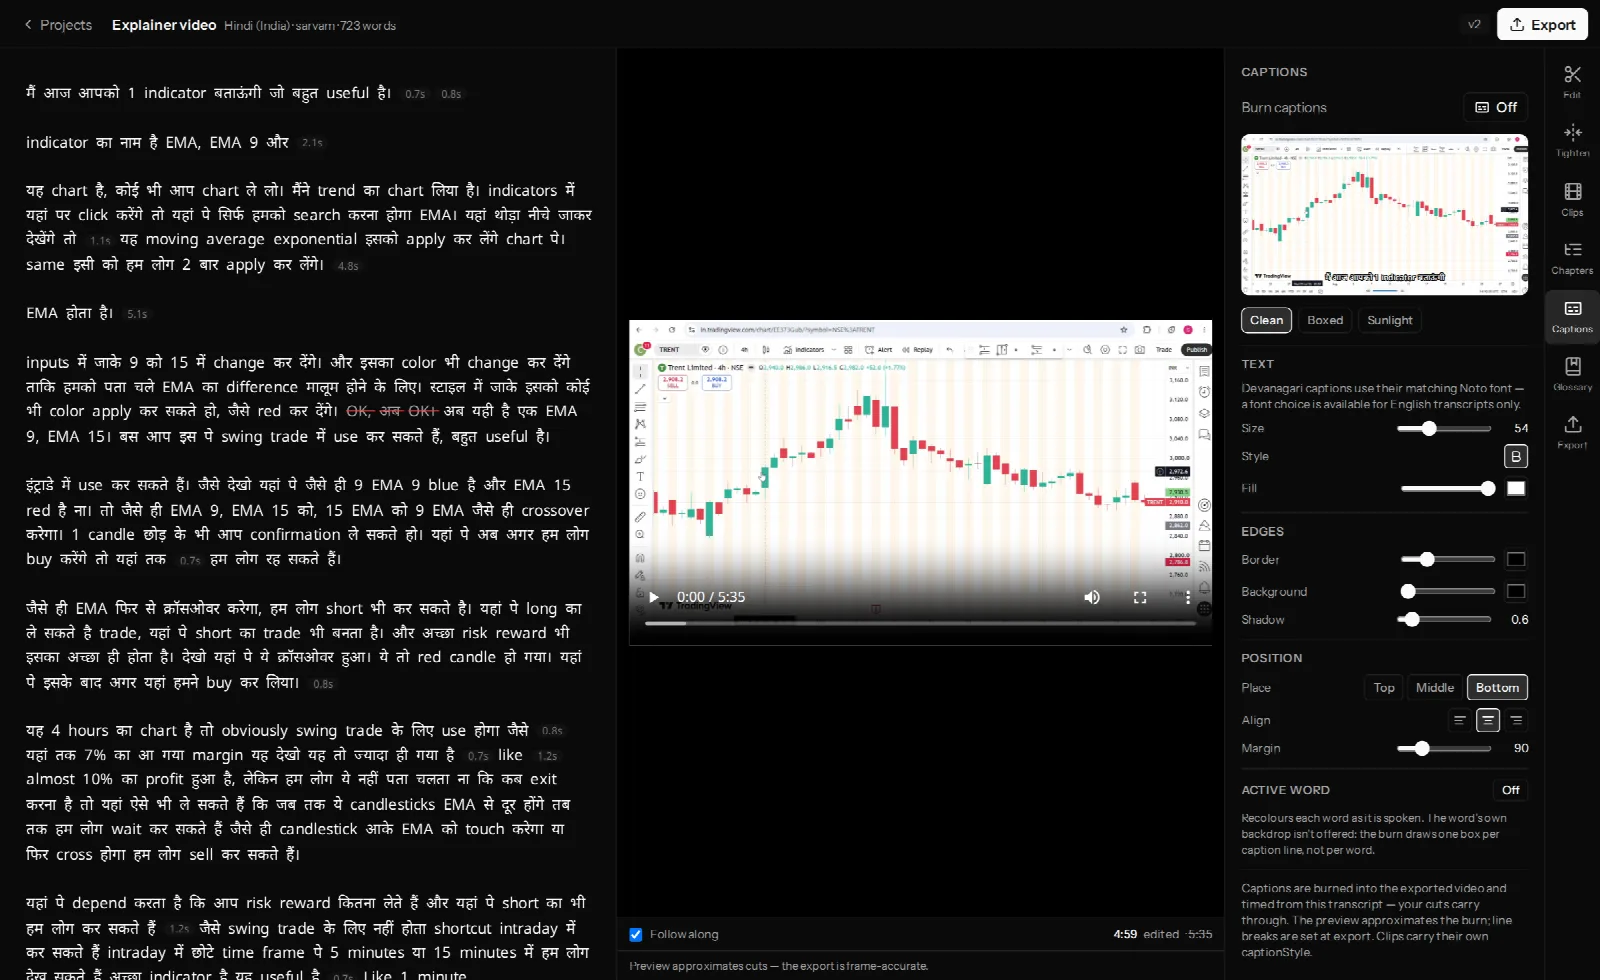
Open the Captions tab. The panel opens with a preview thumbnail showing a real frame from your video with captions drawn on it — not a generic mock-up — so you are judging the styling against your own footage.
Step 2: Start from a preset
Three presets cover most needs, and each one is a complete starting point rather than a theme you have to finish:
| Preset | Best for |
|---|---|
| Clean | Plain text with a soft shadow. Good over dark or busy footage. |
| Boxed | Text on a solid band. The most legible option over unpredictable backgrounds. |
| Sunlight | High-contrast, heavier weight. Built for watching outdoors on a phone. |
Clips get their own vertical variants — Vertical — Clean, Vertical — Boxed and Vertical — Punch — sized for a 9:16 canvas rather than shrunk down from the horizontal ones.
Step 3: Adjust the details
Every preset is a starting point. The controls below it change only what you touch, so switching presets later does not throw away your adjustments to unrelated settings.
- Size — cap height in the export canvas. On a phone, err larger than looks right on a desktop monitor.
- Style and Fill — bold on or off, and the text colour.
- Border — an outline around each glyph. The cheapest way to stay readable over moving footage.
- Background — the box behind the caption line. Raise it when the footage behind the captions changes brightness a lot.
- Shadow — a soft drop shadow; subtler than a border, and often enough on its own.
- Place, Align and Margin — top, middle or bottom; left, centre or right; and how far in from the edge.
Watch the margin for vertical video. Instagram and YouTube overlay their own interface across the bottom of the frame. A caption that sits perfectly in the preview can end up behind a username and a row of buttons, so lift the margin for anything destined for Reels or Shorts.
Highlighting the word being spoken
The Active word control recolours each word as it is said — the karaoke effect that is now common on short-form video. It draws attention and measurably holds it.
One deliberate limitation: you can recolour the active word, but you cannot give it its own coloured box. The burn draws one box per caption line rather than one box per word, so a per-word backdrop is not offered rather than being offered and rendering badly.
How VidCarve handles Indian scripts
Fonts are chosen from the transcript's script, not left to you to get right:
| Script | Font used |
|---|---|
| Devanagari (Hindi, Marathi) | Noto Sans Devanagari |
| Telugu | Noto Sans Telugu |
| Tamil | Noto Sans Tamil |
| Bengali | Noto Sans Bengali |
| Gurmukhi (Punjabi) | Noto Sans Gurmukhi |
| Latin (English) | Noto Sans, with a choice of four families |
You will notice the font picker only appears for English transcripts. That is not an oversight. Each Indic script ships exactly one face that carries the shaping tables conjuncts need; substituting a Latin family would drop those tables and break the text visibly. Rather than offer a choice that produces broken captions, VidCarve locks each Indic script to the face that renders it correctly.
Hinglish is handled in place. A code-mixed Hindi transcript resolves to Devanagari, and the Latin words inside it fall back to a matching Latin face mid-line — so "मैं आज आपको 1 indicator बताऊंगी" renders correctly in one caption without you doing anything.
Line breaks are also script-aware: Devanagari and Telugu occupy more width per character than Latin, so the line-width limit is measured per script rather than in characters.
Step 4: Export
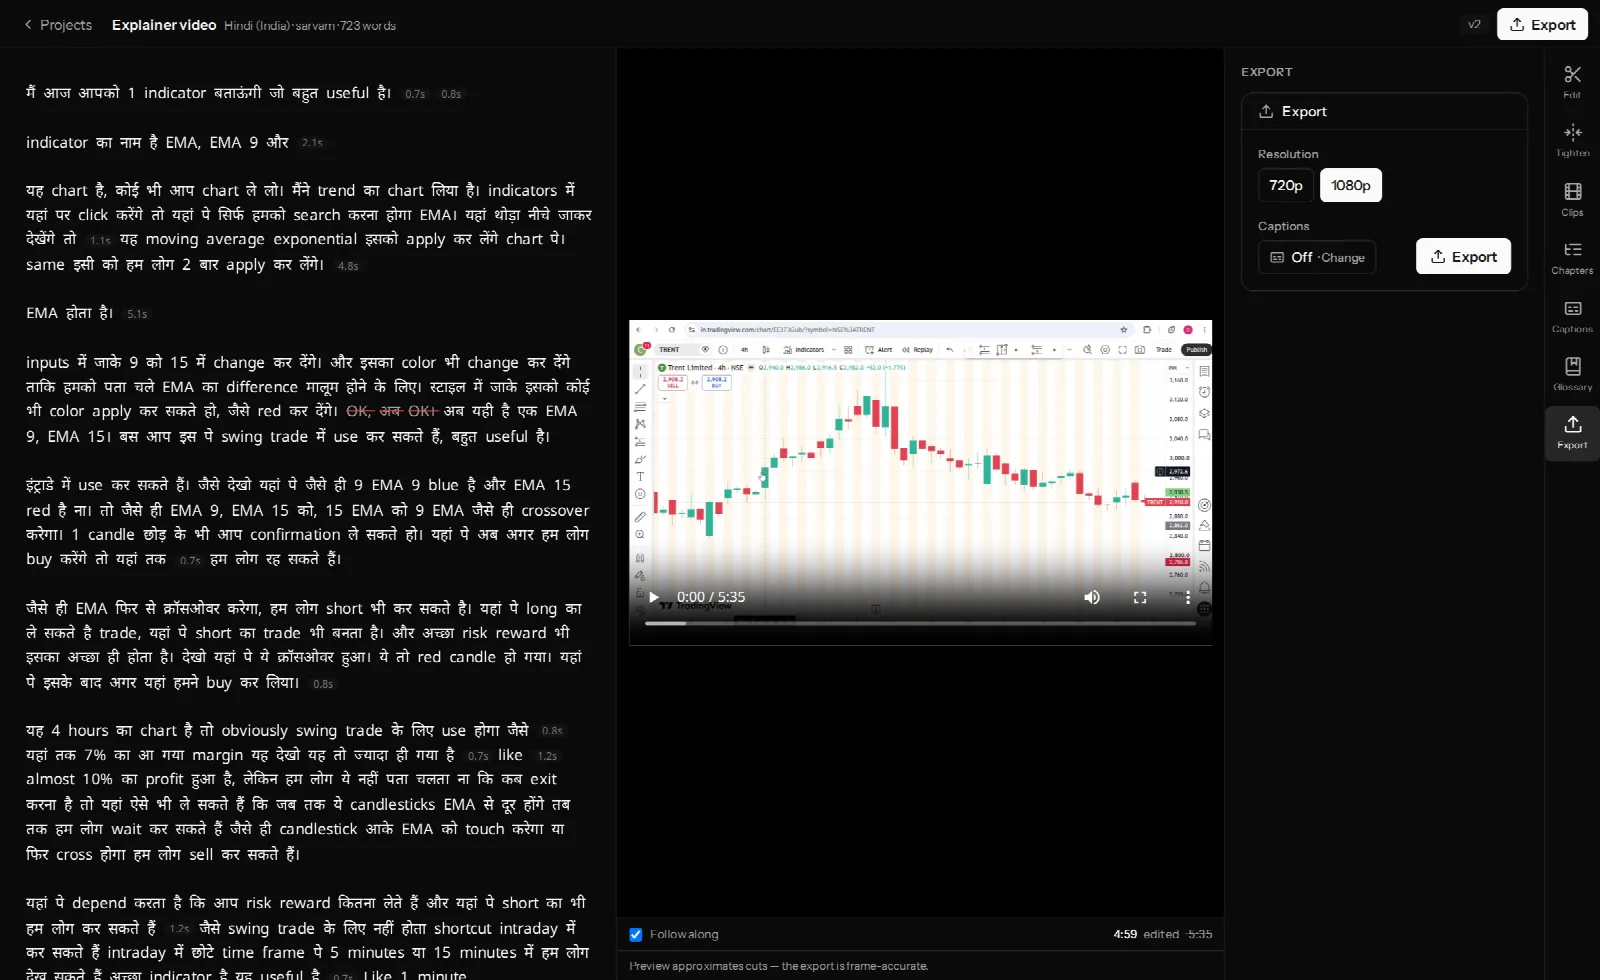
Captions are applied at export. Open the Export tab, confirm captions are on and the right style is named, choose a resolution and start the render.
A few things worth knowing about how the burn works:
- Captions are timed from your edited transcript, so cuts, filler removal and tightened silences all carry through. Nothing needs re-syncing.
- Captions are grouped at sentence boundaries, not at fixed word counts, so a caption rarely breaks mid-thought.
- Burning in does not cost a second encode. Captions are drawn during the same render pass that assembles your cuts, so turning them on does not double the export time.
- The preview approximates the burn. Exact line breaks are decided at export, so the final file can wrap slightly differently from the preview.
Frequently asked questions
Can I download an SRT file instead?
Not today. VidCarve exports burned-in captions only. If you need a switchable subtitle track, this is a real limitation to plan around.
Do I have to re-do captions after editing the video?
No. Captions read from the same edited transcript your cuts come from, so they always match the current version.
Can different clips use different caption styles?
Yes. Clips carry their own caption style, chosen in the Clips tab, so your vertical cut-downs can use a punchier look than the full-length video without changing it.
Will captions work if my video mixes Hindi and English?
Yes. Code-mixed speech is transcribed in both scripts and rendered in one caption line, with each run drawn in a font that shapes it correctly.
Why is my caption text overlapping the platform's buttons?
Increase the Margin setting. The preview shows the video frame, not the app interface a platform draws on top of it.
Next steps
- Turn a long video into vertical clips for Reels and Shorts — where the vertical caption presets earn their keep.
- Get accurate Hindi, Hinglish and regional-language transcripts — captions are only as good as the transcript under them.
- The complete beginner's guide to editing in VidCarve