How to Edit a Video in VidCarve: From Upload to First Export
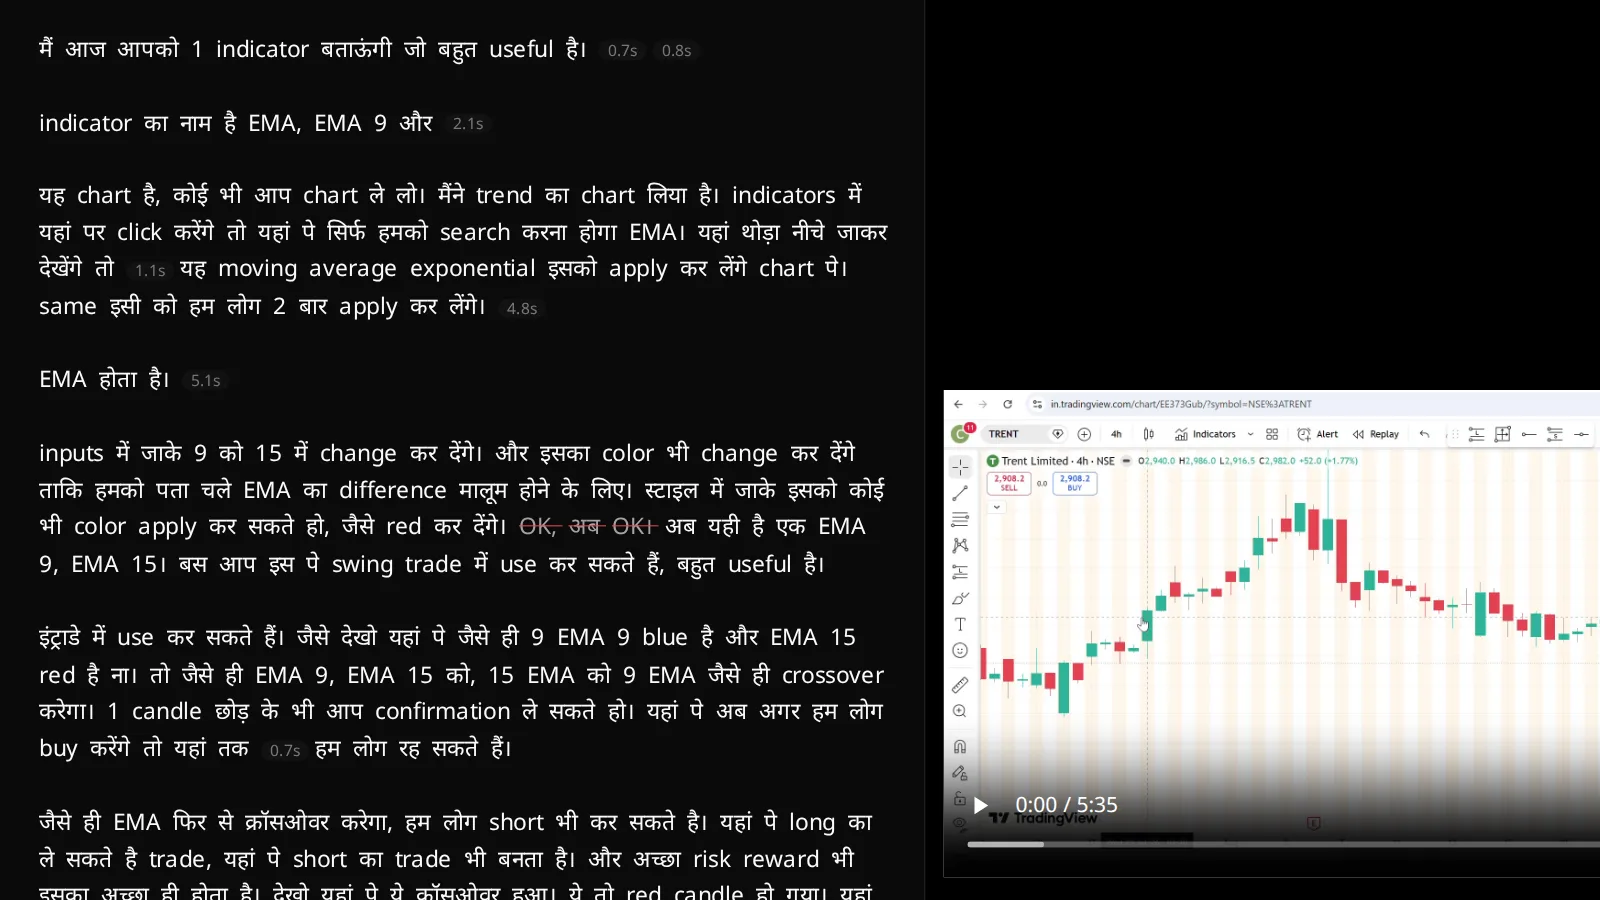
VidCarve is a transcript-based video editor: it transcribes your video, then lets you cut the video by deleting words from the text. Delete a sentence in the transcript and the matching piece of video disappears with it. There is no timeline to scrub and no waveform to squint at.
This guide takes one video from upload to a finished, downloadable file. It should take about ten minutes of your attention, plus the transcription wait.
The short version
- Create a project on the Projects page and give it a title.
- Upload your video — drag it onto the dropzone, or browse for it.
- Wait for the transcript. Roughly ten minutes for a thirty-minute video. You get an email when it is ready.
- Edit by deleting text. Drag across words, press
Delete. - Export, then download the finished MP4 from the Exports page.
What you need before you start
- A video or audio file —
mp4,mov,mkv,webm,mp3,wavorm4a, up to 5 GB. - A VidCarve account. The free plan includes 30 minutes of transcription a month, which is enough to work through this guide.
- Nothing else. There is no software to install — VidCarve runs in the browser.
Step 1: Create a project and upload your video
A project is one video and everything derived from it: its transcript, your edits, its clips and its exports. Open the Projects page, type a title into the New project title field, and choose Create project.
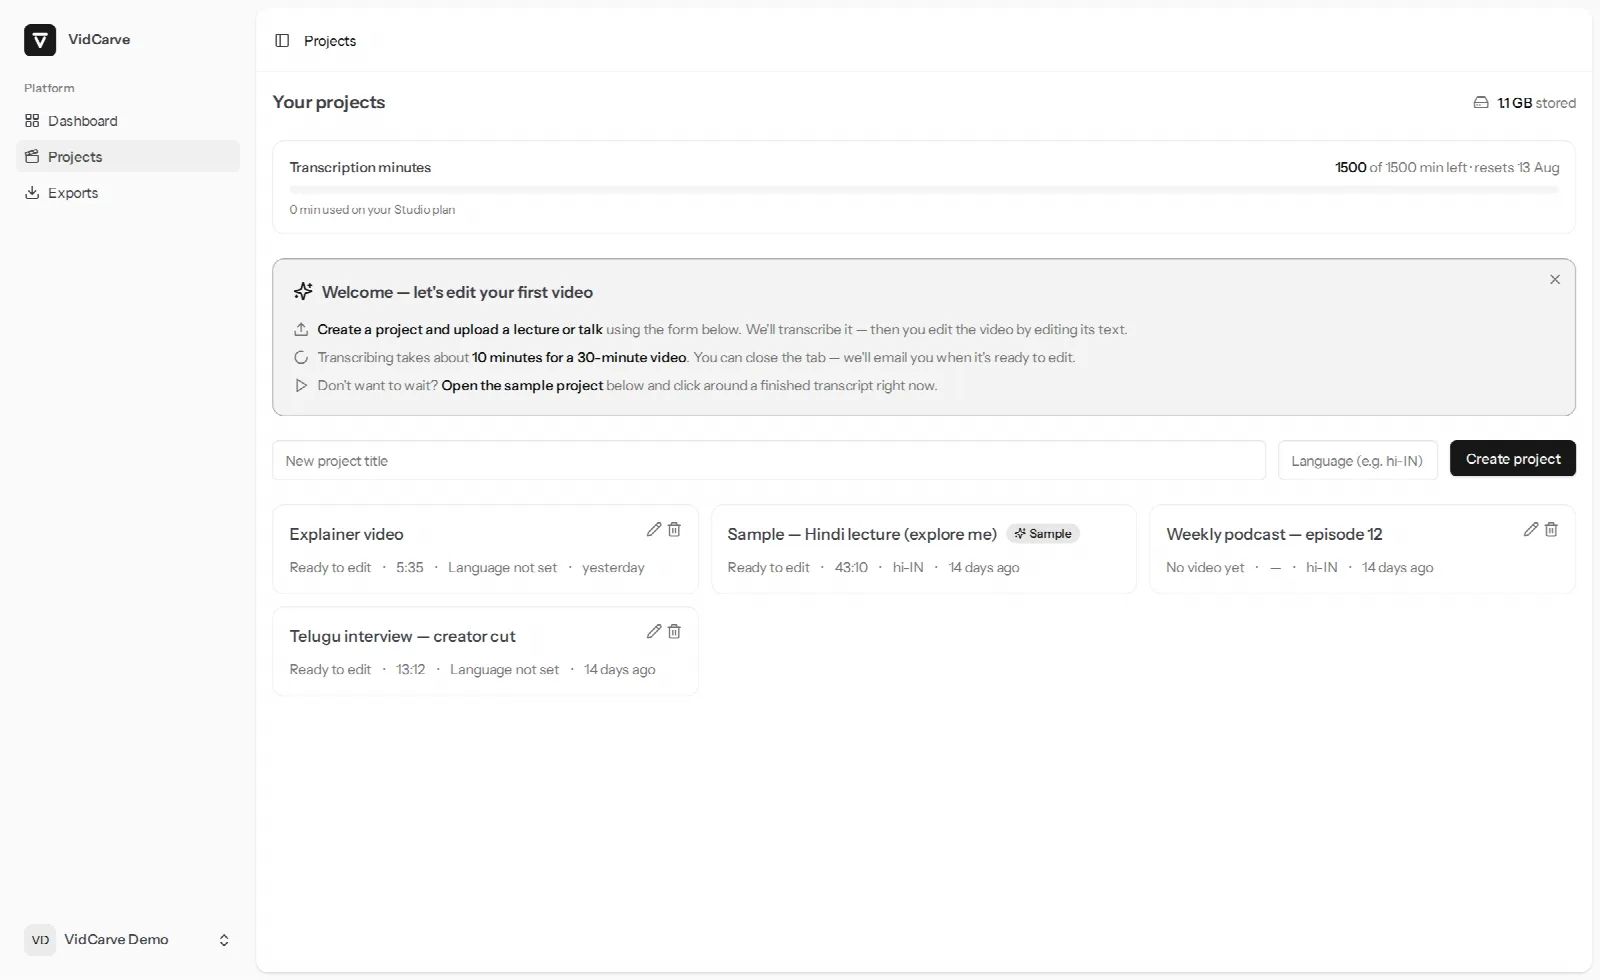
The Language field next to the title is optional. Leave it blank and VidCarve listens to the first minute of audio and works out the language itself — including Hinglish and other code-mixed speech, which it resolves to the underlying Indian language rather than to English. Fill it in only when you already know the answer and want to skip the guess.
The new project opens on its upload screen. Drop your file on the dropzone or use browse files. The upload goes from your browser straight to storage, so a multi-gigabyte file is not limited by anything in between.
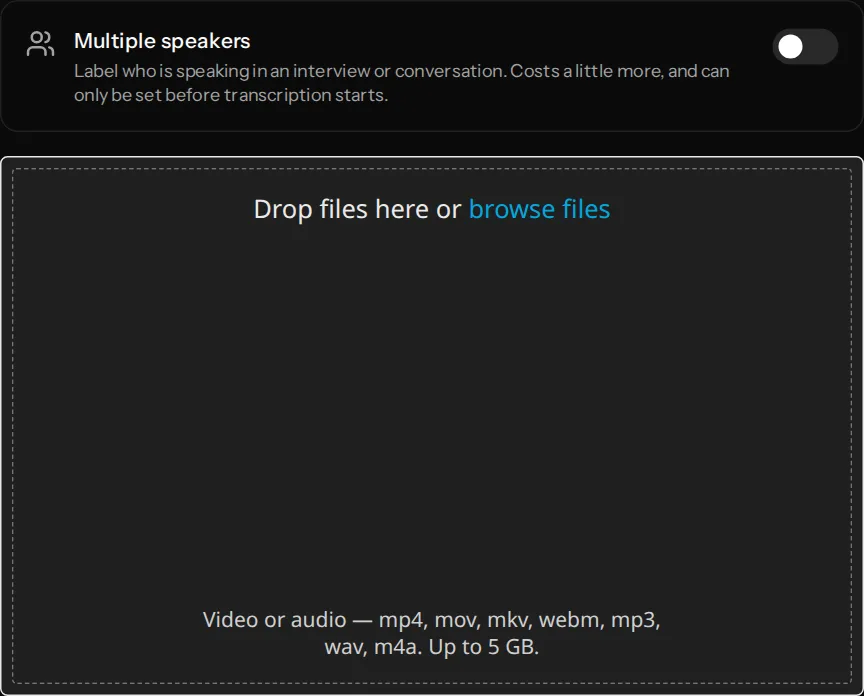
Decide about speakers now. The Multiple speakers toggle tells VidCarve to label who is talking. It is read once, at the moment transcription starts, and it is locked from then on. If you are transcribing an interview, a panel or a two-person podcast, turn it on before you upload. For a single narrator, leave it off.
Step 2: What happens while you wait
Uploading is not transcribing. Once the file lands, VidCarve works through a short pipeline — it ingests the file and builds a preview copy, detects the language, then transcribes and aligns every word to its timestamp. The project page lists these stages as they complete.
Budget about ten minutes for a thirty-minute video. You do not have to sit there: close the tab and VidCarve emails you when the transcript is ready.
If you would rather not wait to see how editing feels, every new account gets a sample project with a finished transcript already in it. Open it and click around — it behaves exactly like your own video.
Step 3: Find your way around the editor
When the transcript lands, the project opens into the editor. It has four regions.
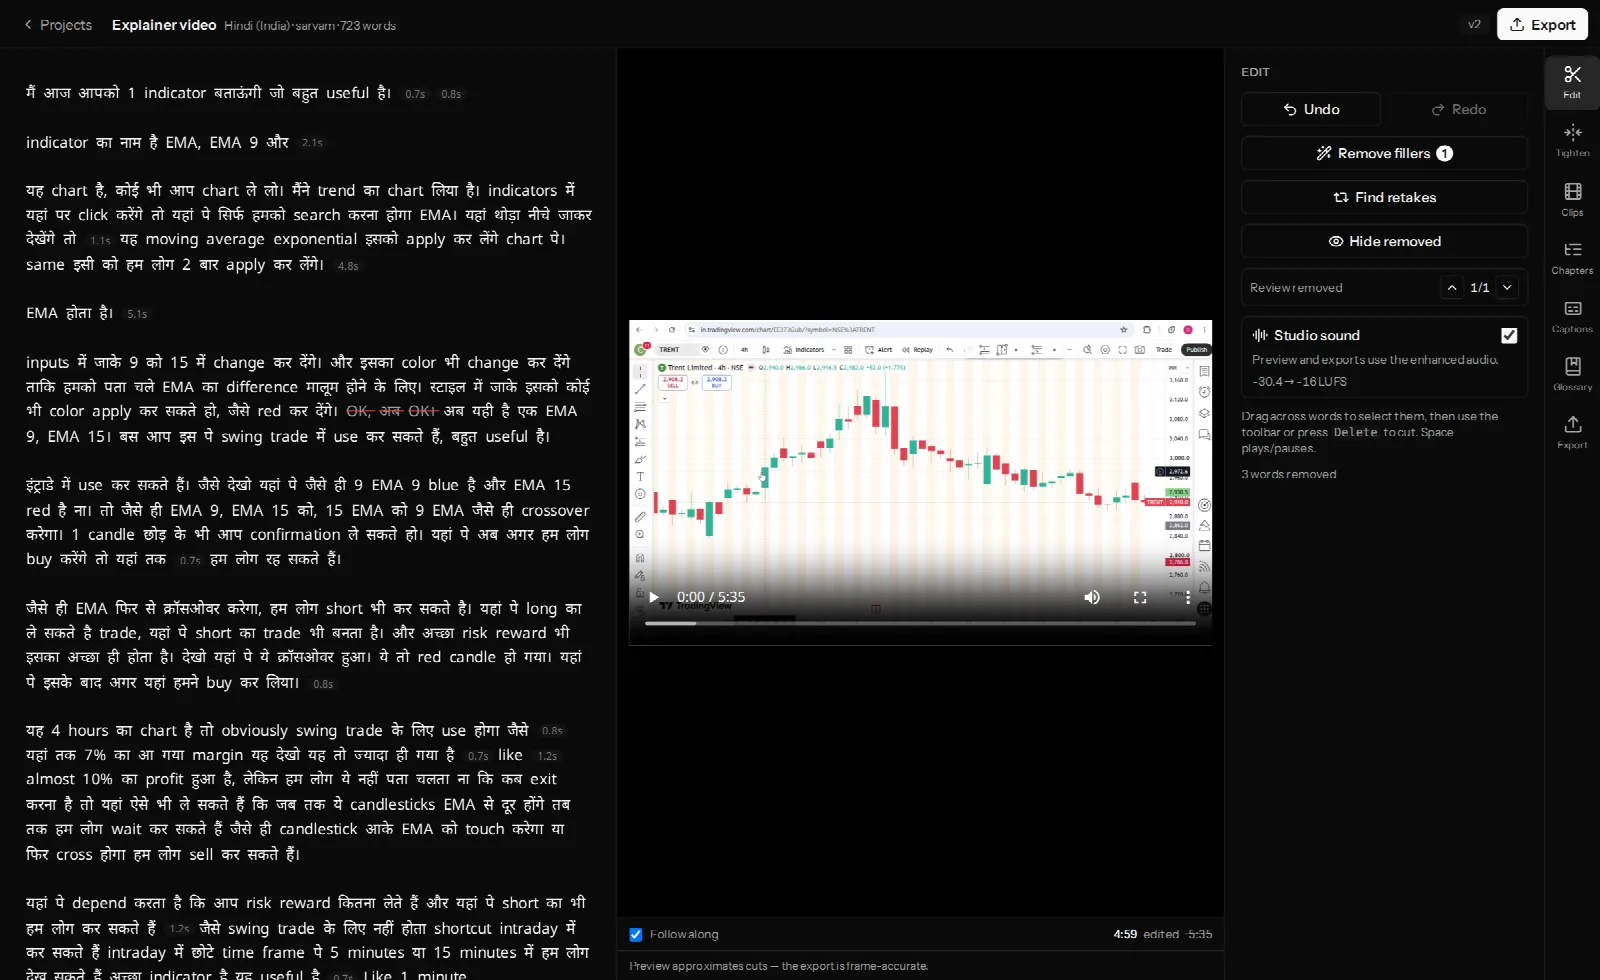
| Region | What it is for |
|---|---|
| Transcript (left) | The document you edit. Every word is clickable and carries a timestamp. |
| Preview (centre) | Plays your edit, skipping what you cut. Below it, the edited running time next to the original. |
| Inspector (right) | The controls for whichever tab is open. |
| Rail (far right) | Seven tabs: Edit, Tighten, Clips, Chapters, Captions, Glossary, Export. |
Two things in the header are worth knowing early. The v2-style badge is your version number — every edit creates a new version, and undo moves between them rather than destroying anything. The line beside the project title tells you the detected language, the engine that transcribed it and the word count.
Step 4: Make your first cut
Drag across a run of words. A small toolbar appears offering to delete them, and Delete on the keyboard does the same thing. The words stay visible with a line through them, so you can always see what you removed and put it back.
- Click any word to move the playhead there and play from that point.
- Space plays and pauses.
- Follow along, under the preview, scrolls the transcript with playback.
- Hide removed, in the Edit tab, collapses struck text so you can read the cut as it will play.
- Undo (
Cmd/Ctrl-Z) steps back a version.
The preview updates immediately, because nothing has been re-encoded yet. Your original file is untouched: edits are stored as a list of what to keep, and the video is only assembled when you export. That is also why the note under the preview says the preview approximates the cuts while the export is frame-accurate.
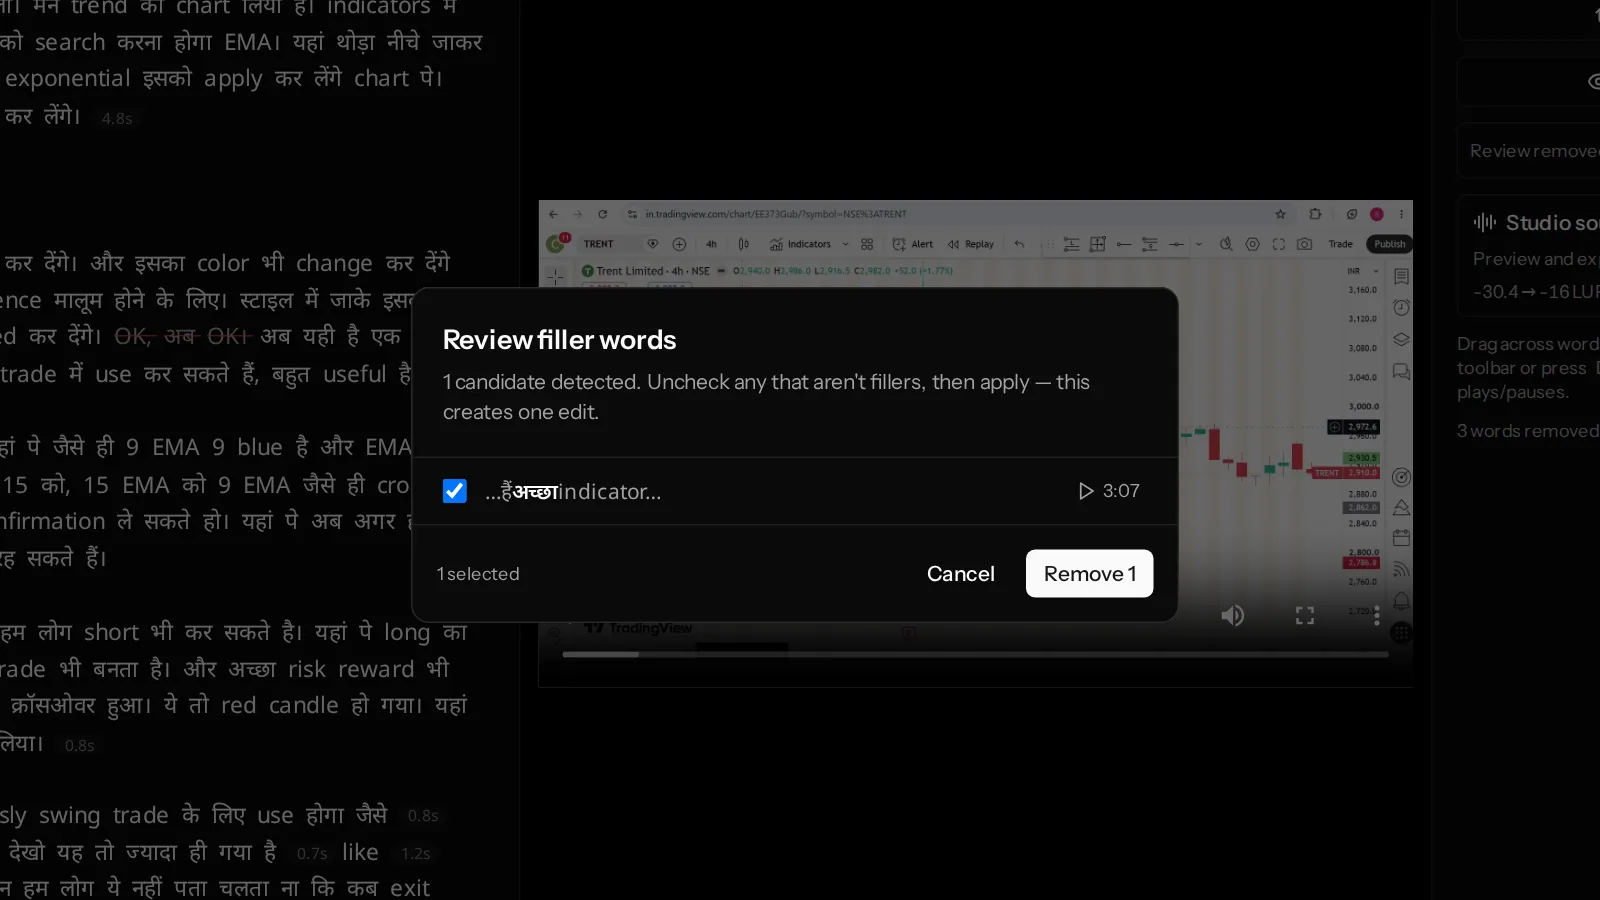
When you want to go further than manual cuts — filler words, dead air, abandoned takes — see how to remove filler words, silences and retakes.
Step 5: Export and download
Open the Export tab in the rail, or use the Export button in the header. Choose a resolution, decide whether to burn in captions, and start the export.
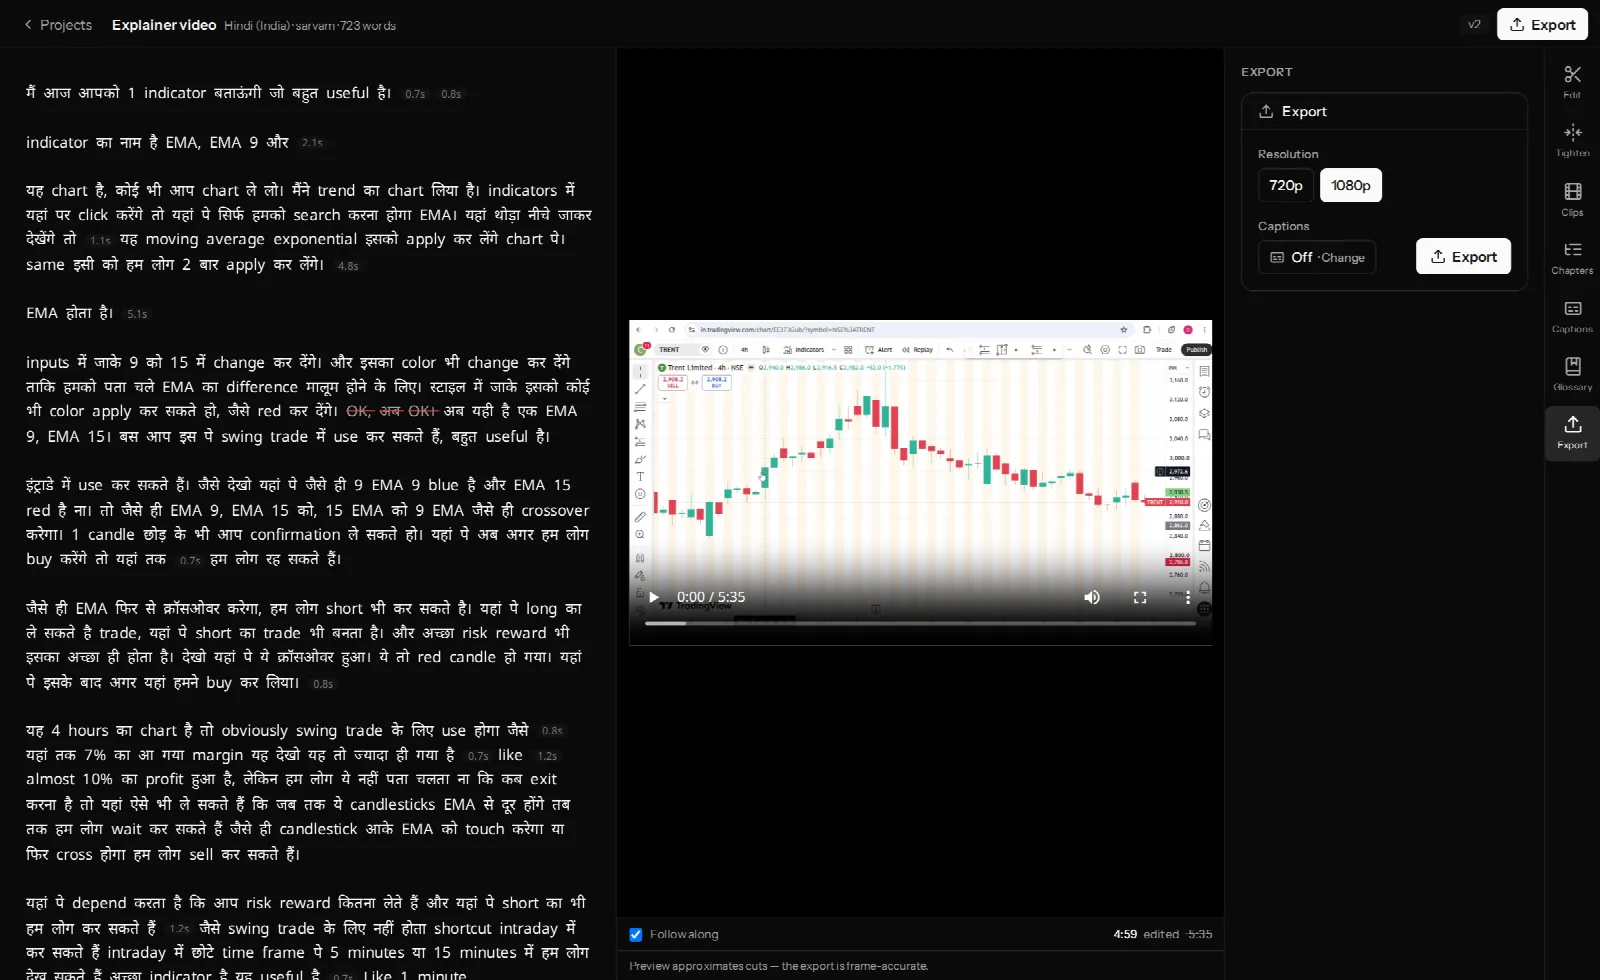
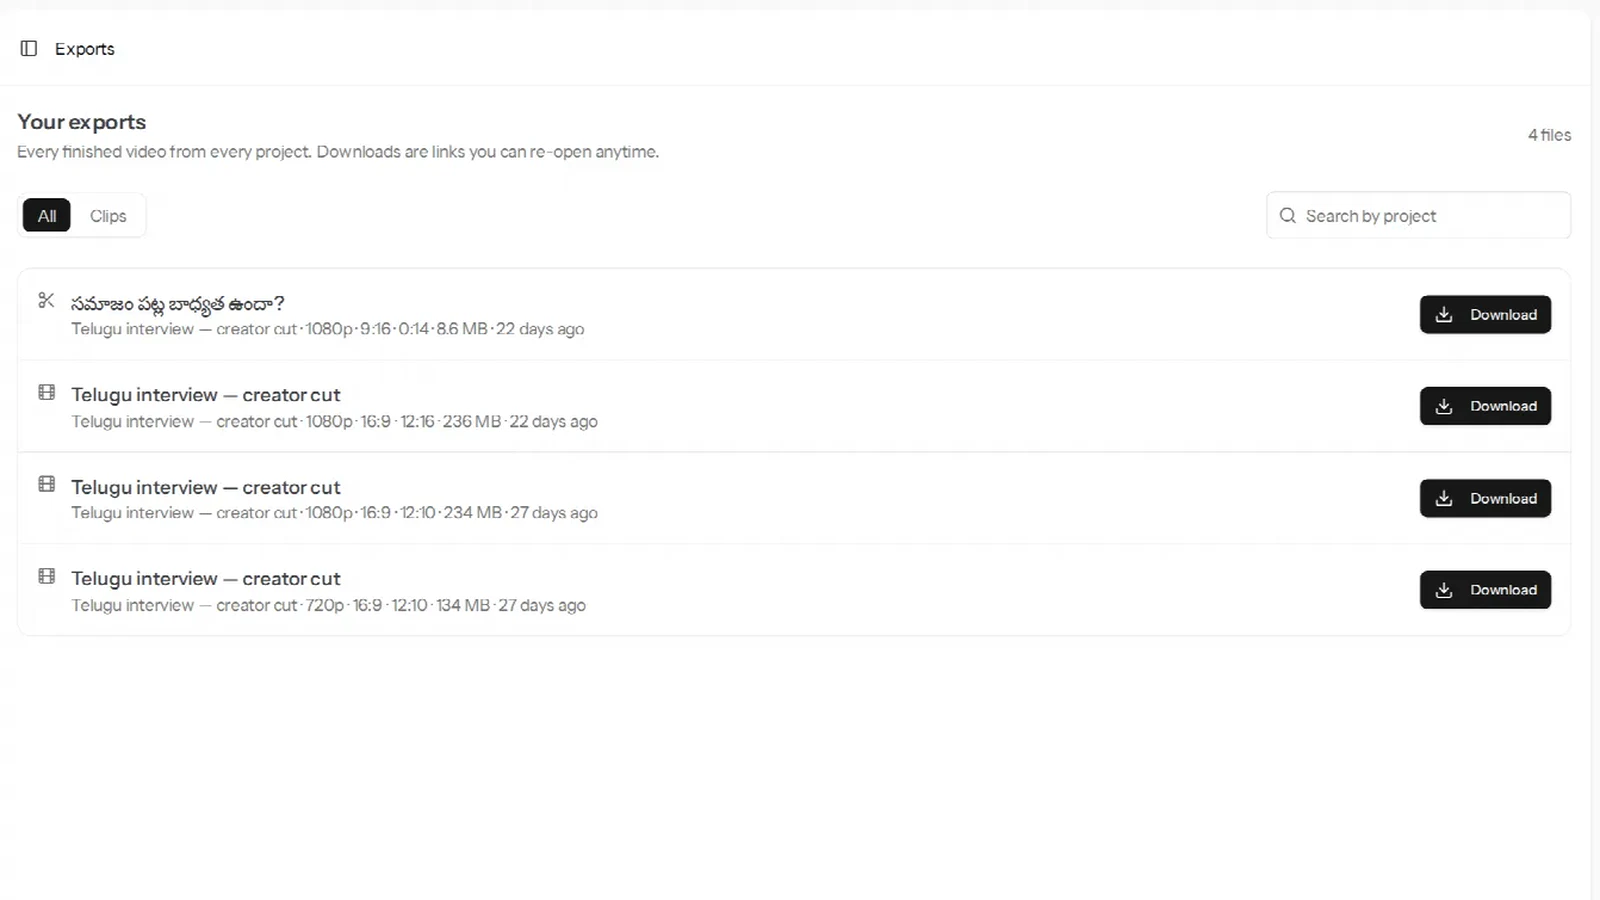
Rendering takes a few minutes and runs in the background; you can keep editing or close the tab. When it finishes, the file appears on the Exports page with a download link, alongside every other export you have made.
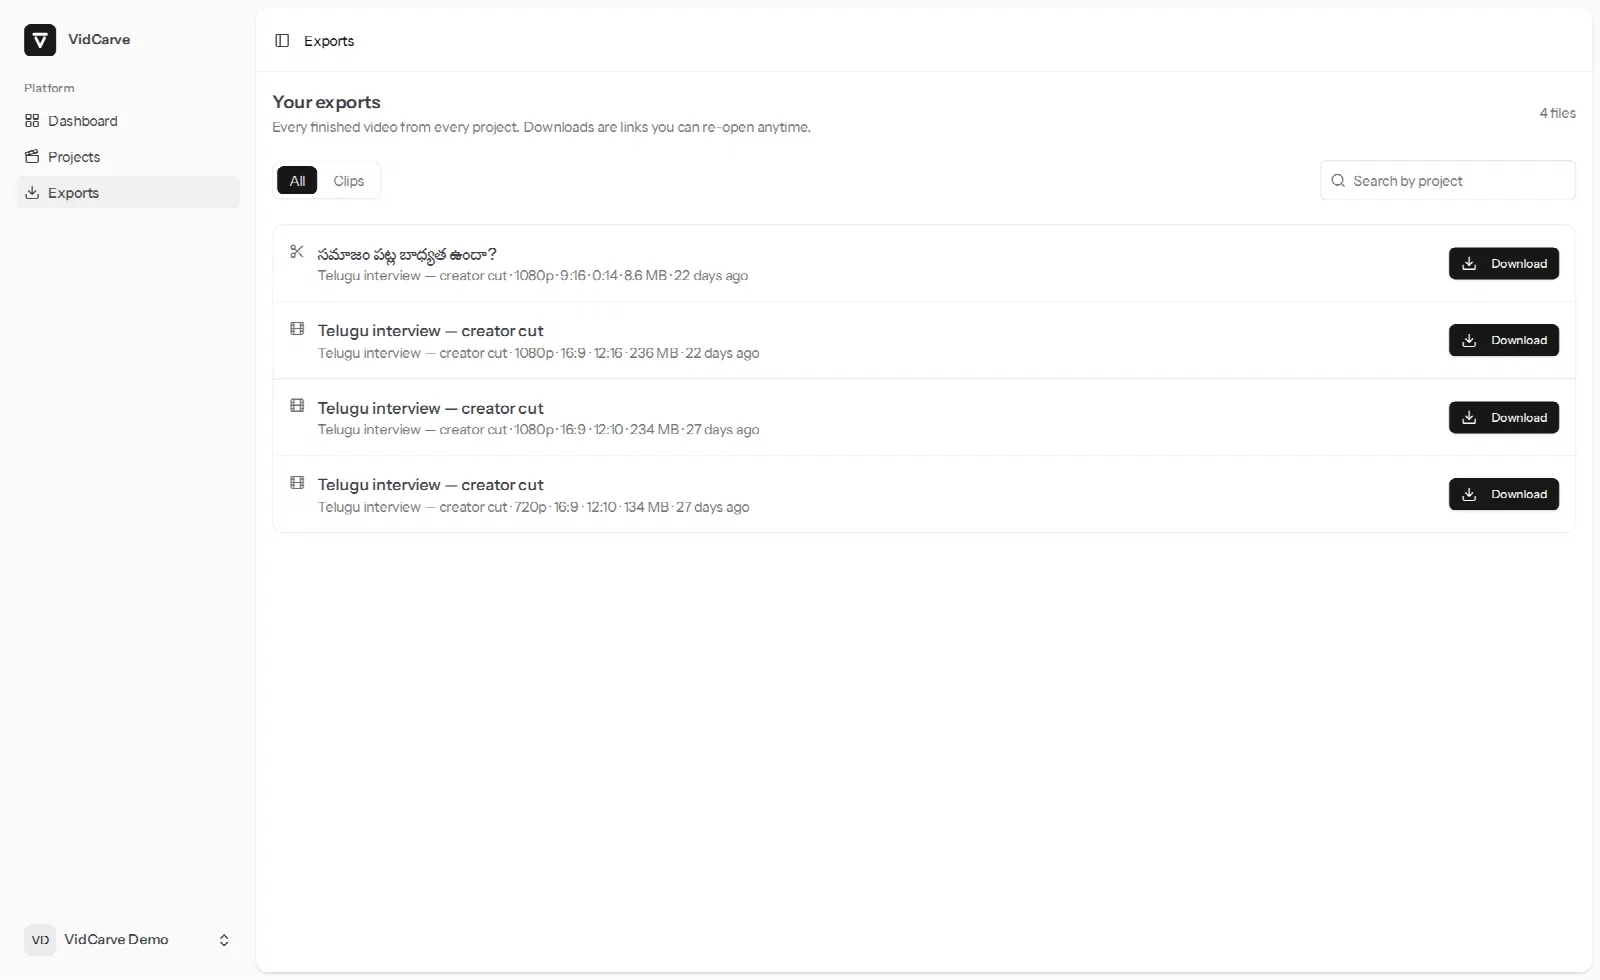
Two things worth knowing. Free-plan exports are capped at 720p and carry a small watermark; paid plans export at 1080p without one.
And projects have a retention window — 7 days on the free plan, 60 days on paid plans. What expires is the source media: the uploaded file and the working copies derived from it. Your exports are kept, and so is the whole project shell — transcript, edit versions, clips and chapters all still read. A project past its window is marked "media expired": you can still download what you exported, but re-editing or re-exporting it means uploading the file again.
What each tab does
| Tab | What it does |
|---|---|
| Edit | Undo/redo, remove filler words, find retakes, hide removed text, studio sound. |
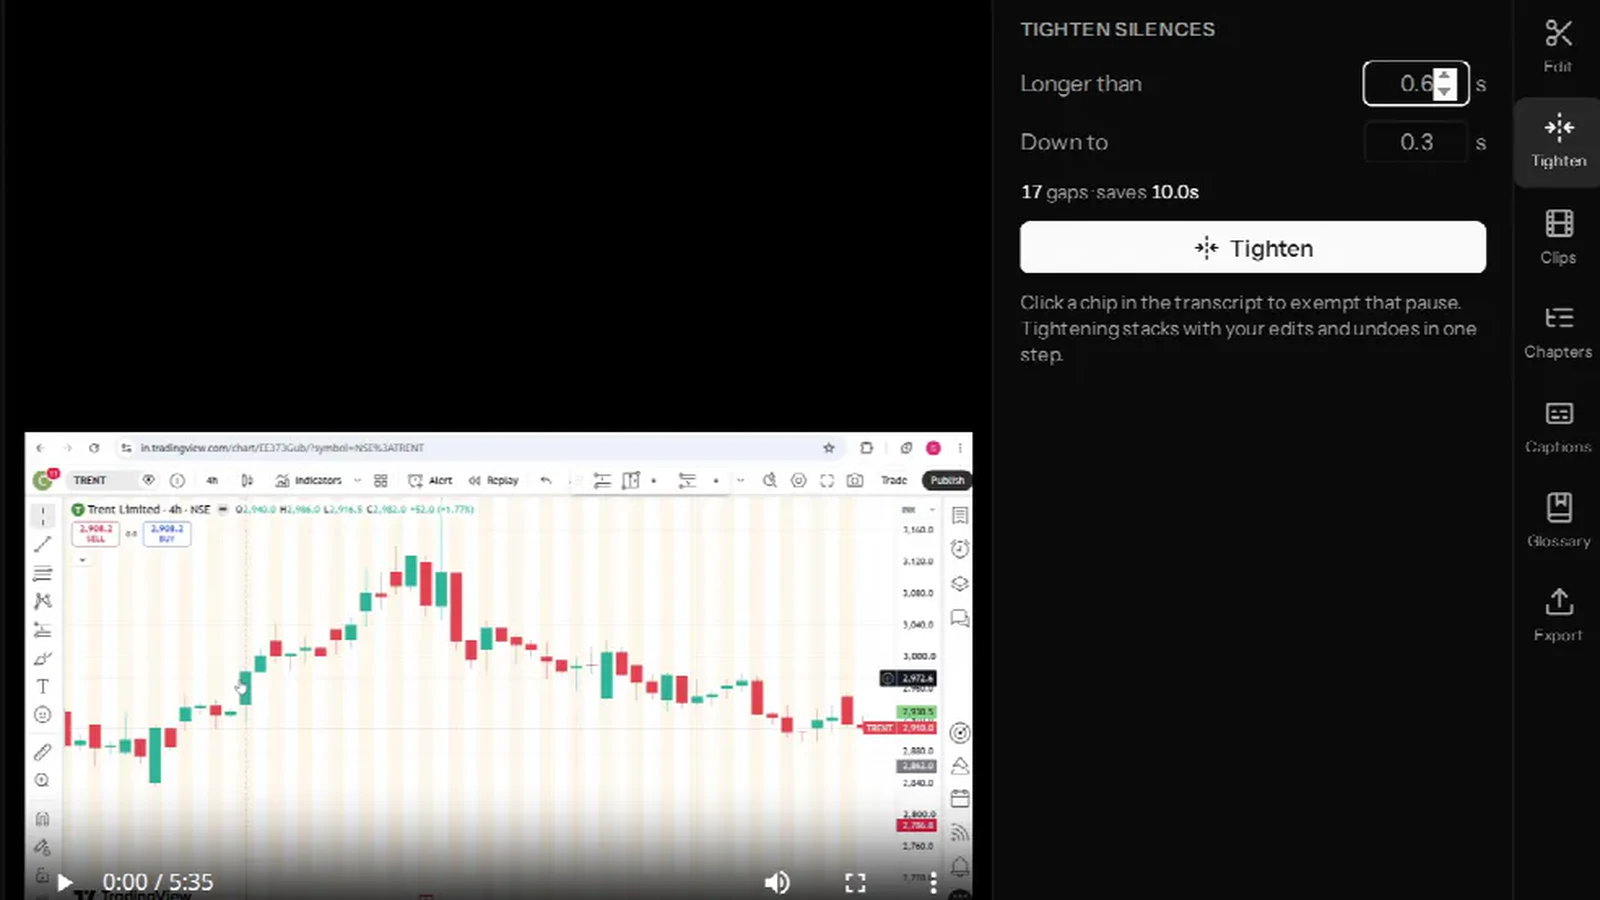
| Tighten | Shortens silences longer than a threshold you set. |
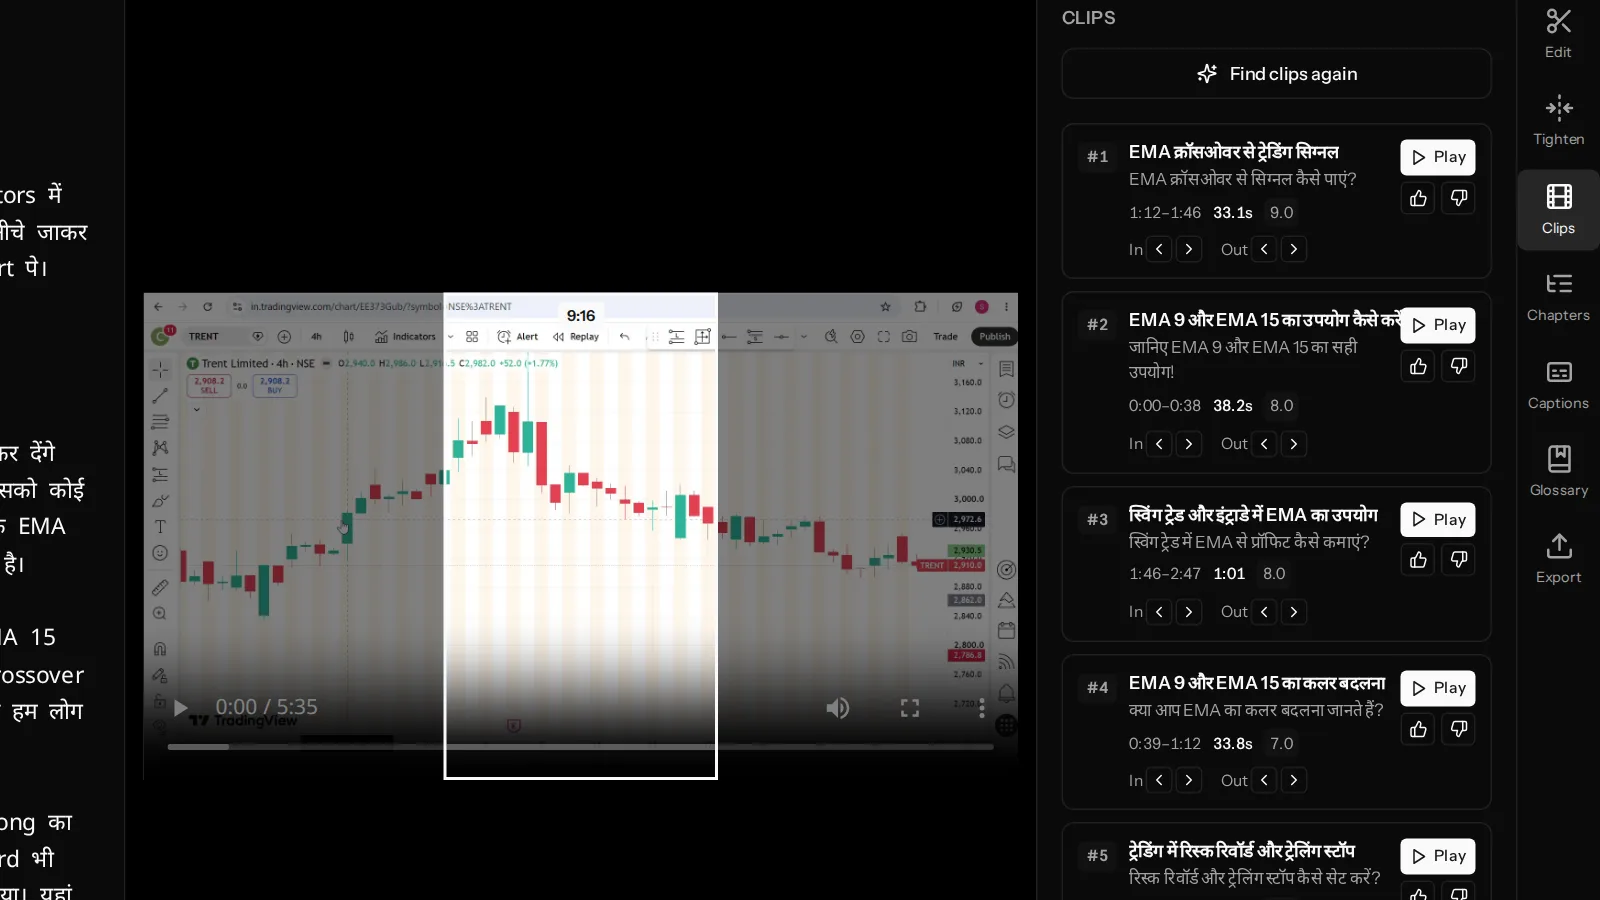
| Clips | Proposes short, self-contained clips and exports them vertically for Reels and Shorts. |
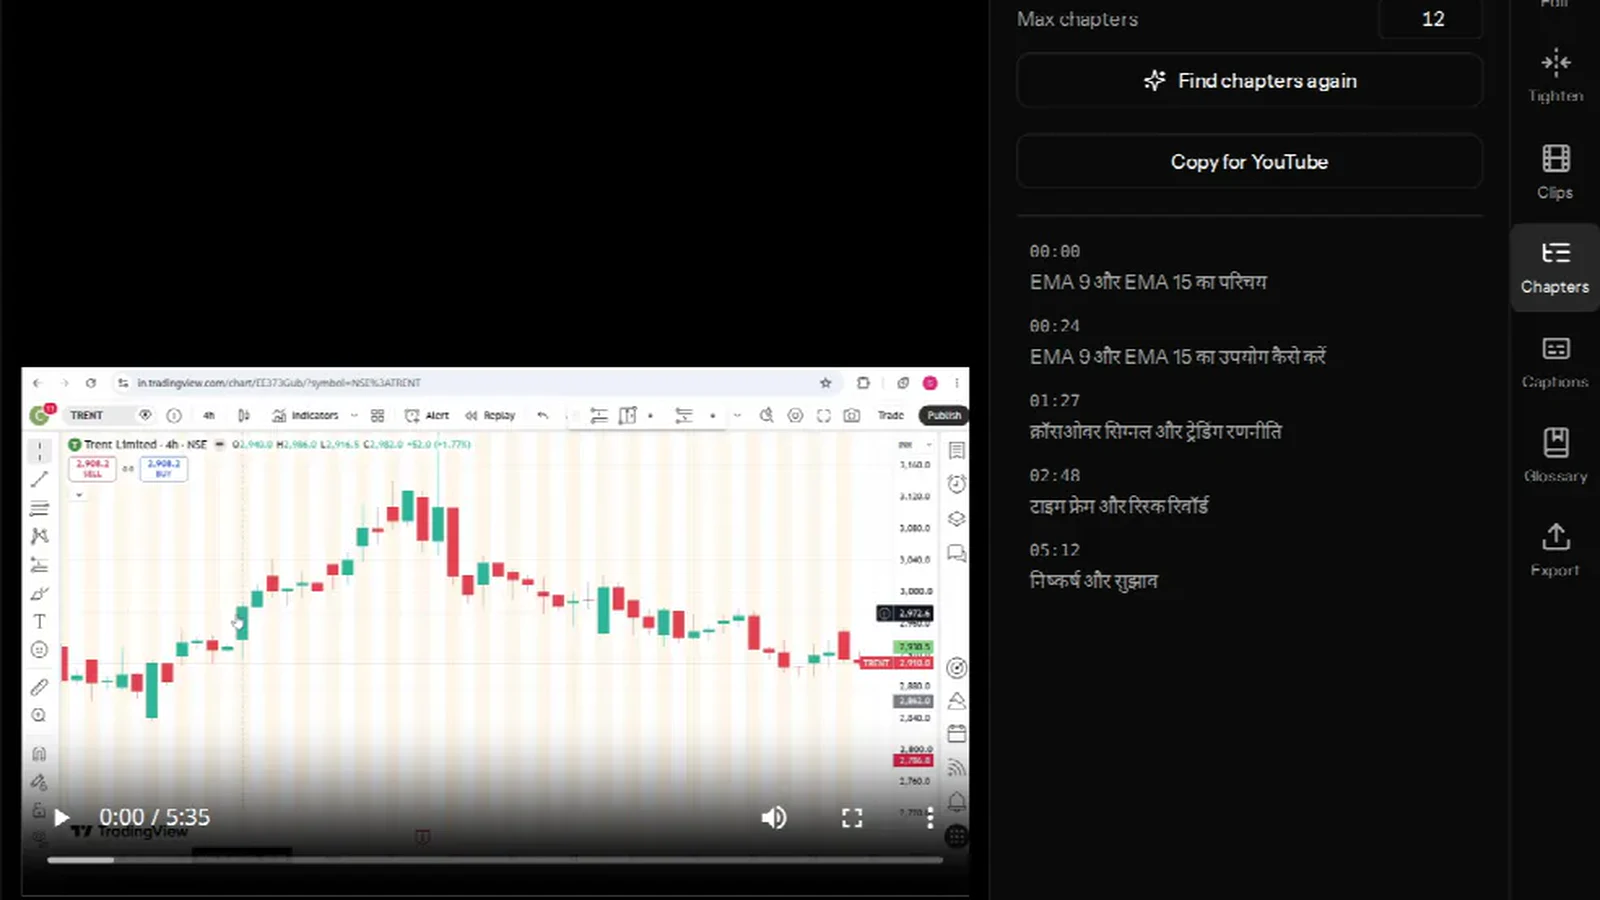
| Chapters | Builds a timestamped outline you can paste into a YouTube description. |
| Captions | Styles the captions that get burned into the exported video. |
| Glossary | Teaches VidCarve names and jargon it keeps mishearing. |
| Export | Renders the finished video. |
Frequently asked questions
Does editing the transcript change my original video?
No. Edits are stored as versions of a keep-list, and the source file is never modified. The video is only assembled at export time, so you can undo anything, at any point, without loss.
How long does transcription take?
About ten minutes for a thirty-minute video. VidCarve emails you when it is done, so you do not need to keep the tab open.
Which languages does VidCarve transcribe?
Indian languages including Hindi, Telugu, Tamil, Bengali, Marathi, Gujarati, Kannada, Malayalam, Punjabi, Odia and Urdu, plus English. Code-mixed speech such as Hinglish is transcribed as-is, in both scripts. See getting accurate Hindi, Hinglish and regional-language transcripts.
Can I add captions?
Yes — captions are burned into the exported video and are timed from your edited transcript, so they follow your cuts. See how to add burned-in captions.
Can I turn one long video into short clips?
Yes. The Clips tab proposes self-contained moments and exports them in 9:16. See how to turn a long video into vertical clips.
Where to go next
You now have the whole loop: upload, transcribe, cut, export. The four guides below each take one part of it further.